Curious about Crypto? Use my Coinbase sign up link and get $186 worth of free crypto. Signup gives $10 worth of bitcoin and complete the Coinbase rewards for an additional $176. Use referral links for BAND, COMP, and XML for maximum rewards.
For the new year, I’ve been on a mission to declutter the house and found an old hard drive from 1995 in box of old computer parts. Curious to see if it contained anything fun from the ’90s, I plugged the hard drive in a IDE enclosure and gave it a go.
Unfortunately, the hard drive started making cranking noises and failed to install. Since the drive is failing, I figure I’d open it up and see how it works before tossing it in the trash.
https://youtu.be/nvHlWPZP8tM
After opening the drive. the hard drive installed correctly and the data was accessible.
Awesome!!!
I was hoping to find old AOL emails and pictures from my teenage years, but alas, the drive was wiped.
I just finished my free year of service with Sprint and working now out the kinks of using an Project Fi SIM with an iPhone(6s). After a year of paying $2.90 a month (for regulatory and taxes), my first bill post-promo was $66.76! I’m cheap and switched back to Project Fi where my monthly bill is around $30-35/month.
For what it’s worth, Sprint’s unlimited plan was pretty decent:
Unlimited data, talk & text
10GB LTE Mobile Hotspot (tethering)
Free Global Roaming (2G speeds)
Best Perk: Getting unlimited 4G LTE data in Japan!
Project Fi is only officially available for Google’s own Nexus and Pixel phones; technically iPhones are not supported by Project Fi. Project Fi SIMs need to be first be activated on a Nexus/Pixel phone before using it in a non-supported phone.
Note: MMS may not work correctly on an iPhone and no visual voicemail.You’ll have to check voicemail the old school way by calling your own phone number.
So far, I’ve have my iPhone sending MMS messages with no problems; receiving MMS generates an error.
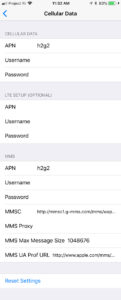
Here are my MMS settings in case anyone needs it.
Cellular Data
APN: h2g2 – mustchange “alpha” to “h2g2”
MMS
APN: h2g2
Username: [leave blank]
Password: [leave blank]
MMSC: http://mmsc1.g-mms.com/mms/wapenc – http NOT https
MMS Proxy: [leave blank]
MMS Max Message Size: 1048676
MMS UA Prof URL: http://www.apple.com/mms/uaprof.rdf
I love Costco. I was at a Costco tire center earlier today to get my tires rotated, rebalanced, and the air pressure checked. The mechanic noticed there was a nail in my tire and patched up my tire for free. Awesome. The mechanic tried a few times to start my car and when it wouldn’t start, he asked me if there was a secret to starting my car. I’m thinking “Fuck, did the HV battery finally eat shit?” My car has over 234K miles and will eventually need a new HV battery. Yes, I live dangerously.
The mechanic suggested the issue might be related to the keyfob being low on battery (WRONG). None of the door controls were working and dash was displaying a “check engine” light. When the mechanic turned on the interior light, I noticed it was extremely dim then realized he left my car on IG-ON mode (Power button is Orange) which inevitably drained my 12V battery. As a sanity check, I checked my ScanGauge II for any diagnostic/trouble codes. No stored codes. **Phew** Ok, so now my car needs a jump start.
Here’s a quick tutorial on how to jump start your Prius safely.
I’ve owned this since the early 2000’s. It’s also useful during power outages – it has a work light and two 12-volt cigarette lighter ports (useful for charging your cell phone and other electronics).
Although the 12V battery is located in trunk, the jumper mounts are located in the front of the car. Pop open the car front hood and look for a black box at the top right of the engine bay. Remove the black cover, then a red cover to expose the Positive (+) terminal.
On the portable jump starter, make sure the Booster Cable ON/OFF switch is set to “OFF” position. On the car, locate the clamp points which are circled in the left photo. First, attach the red clamp to the Positive (+) terminal, then the black clamp to the nut shown in the photo. We are using the nut as the negative (-) terminal.
Once the clamps are connected, the Reverse Polarity Indicator LED on my jump starter will light up GREEN. This means the polarity is correct, otherwise, it will illuminate RED and sound an alarm to indicate the clamps are reversed (this is bad).
After verifying the connections are correct (i.e. GREEN light) go ahead and toggle the Booster Cable switch to “ON” and hop into the driver’s seat to start the car. Make sure all car lights (headlights & interior lights) are “OFF” then start the car as you normally would… with the foot pressing down on the brake pedal while pressing the power button.
It’s a bit anti-climatic when the car does start up. Look on the dash for the “READY” indicator — if this is showing, congratulations, you’ve successfully jumped started your Prius. YAY!
Now, let’s disconnect the jumper pack.
1) Leave your car running on when disconnecting the jumper clamps.
2) Toggle the Booster Cable switch to “OFF”
3) Disconnect the jumper cables starting with black then red. Don’t let the clamps touch each other or any part of the car.
4) Drive the car around for 20-30 minutes to recharge your battery.
If the jump-start fails, there are likely some other issue that needs to be addressed… the issue would have likely generated a diagnostic/trouble code (hence, why I checked first before jumping the car).
Don’t forget to recharge the portable jump starter after use!
Turned on my car one day and saw this: “Caution – The Transmission P lock mechanism is abnormal. Park your car at a flat place, and apply the parking brake completely.”
I’m thinking: “It looks pretty flat to me, buddy.”
The 12V battery (not HV battery) is failing. Here’s how to diagnose the problem and repair the issue.
** There’s also way to access a nifty hidden maintenance menu on the MFD (Multi Function Display) – See video at the bottom of this post **
Battery: Optima Yellowtop DS46B24R
Purchased at O’Reilly Auto Parts, price matched with Pepboys for $129.70 (Originally over $220).
This Optima battery is supposedly “exactly the same size as the OEM battery.”
My Video: My First Readings from MFD Maintenance Mode and Scanguage 2 after the 12V battery swap
When I moved into my Pasadena apartment, I wanted to see if I could “cut the cord” and not pay for cable/satellite tv or any streaming services (Netflix, Hulu).
My solution: Kodi (XBMC) and a Leaf amplified HD antenna.
<nerdflex> I am evangelist for Kodi/XBMC (Open Source Home Theatre Software) and have installed it on all supported platforms: Windows, Linux, OSX, Android, Raspberry Pi, and iOS. I have plugins installed that allow me to pretty much stream Anime, TV Shows, and Movies for free. </nerdflex>
Using the Leaf HD antenna, I was getting 40-50 channels over the air in my Pasadena apartment. The HD quality was on par, if not better than cable. This fulfilled my need to have access to local tv channels.
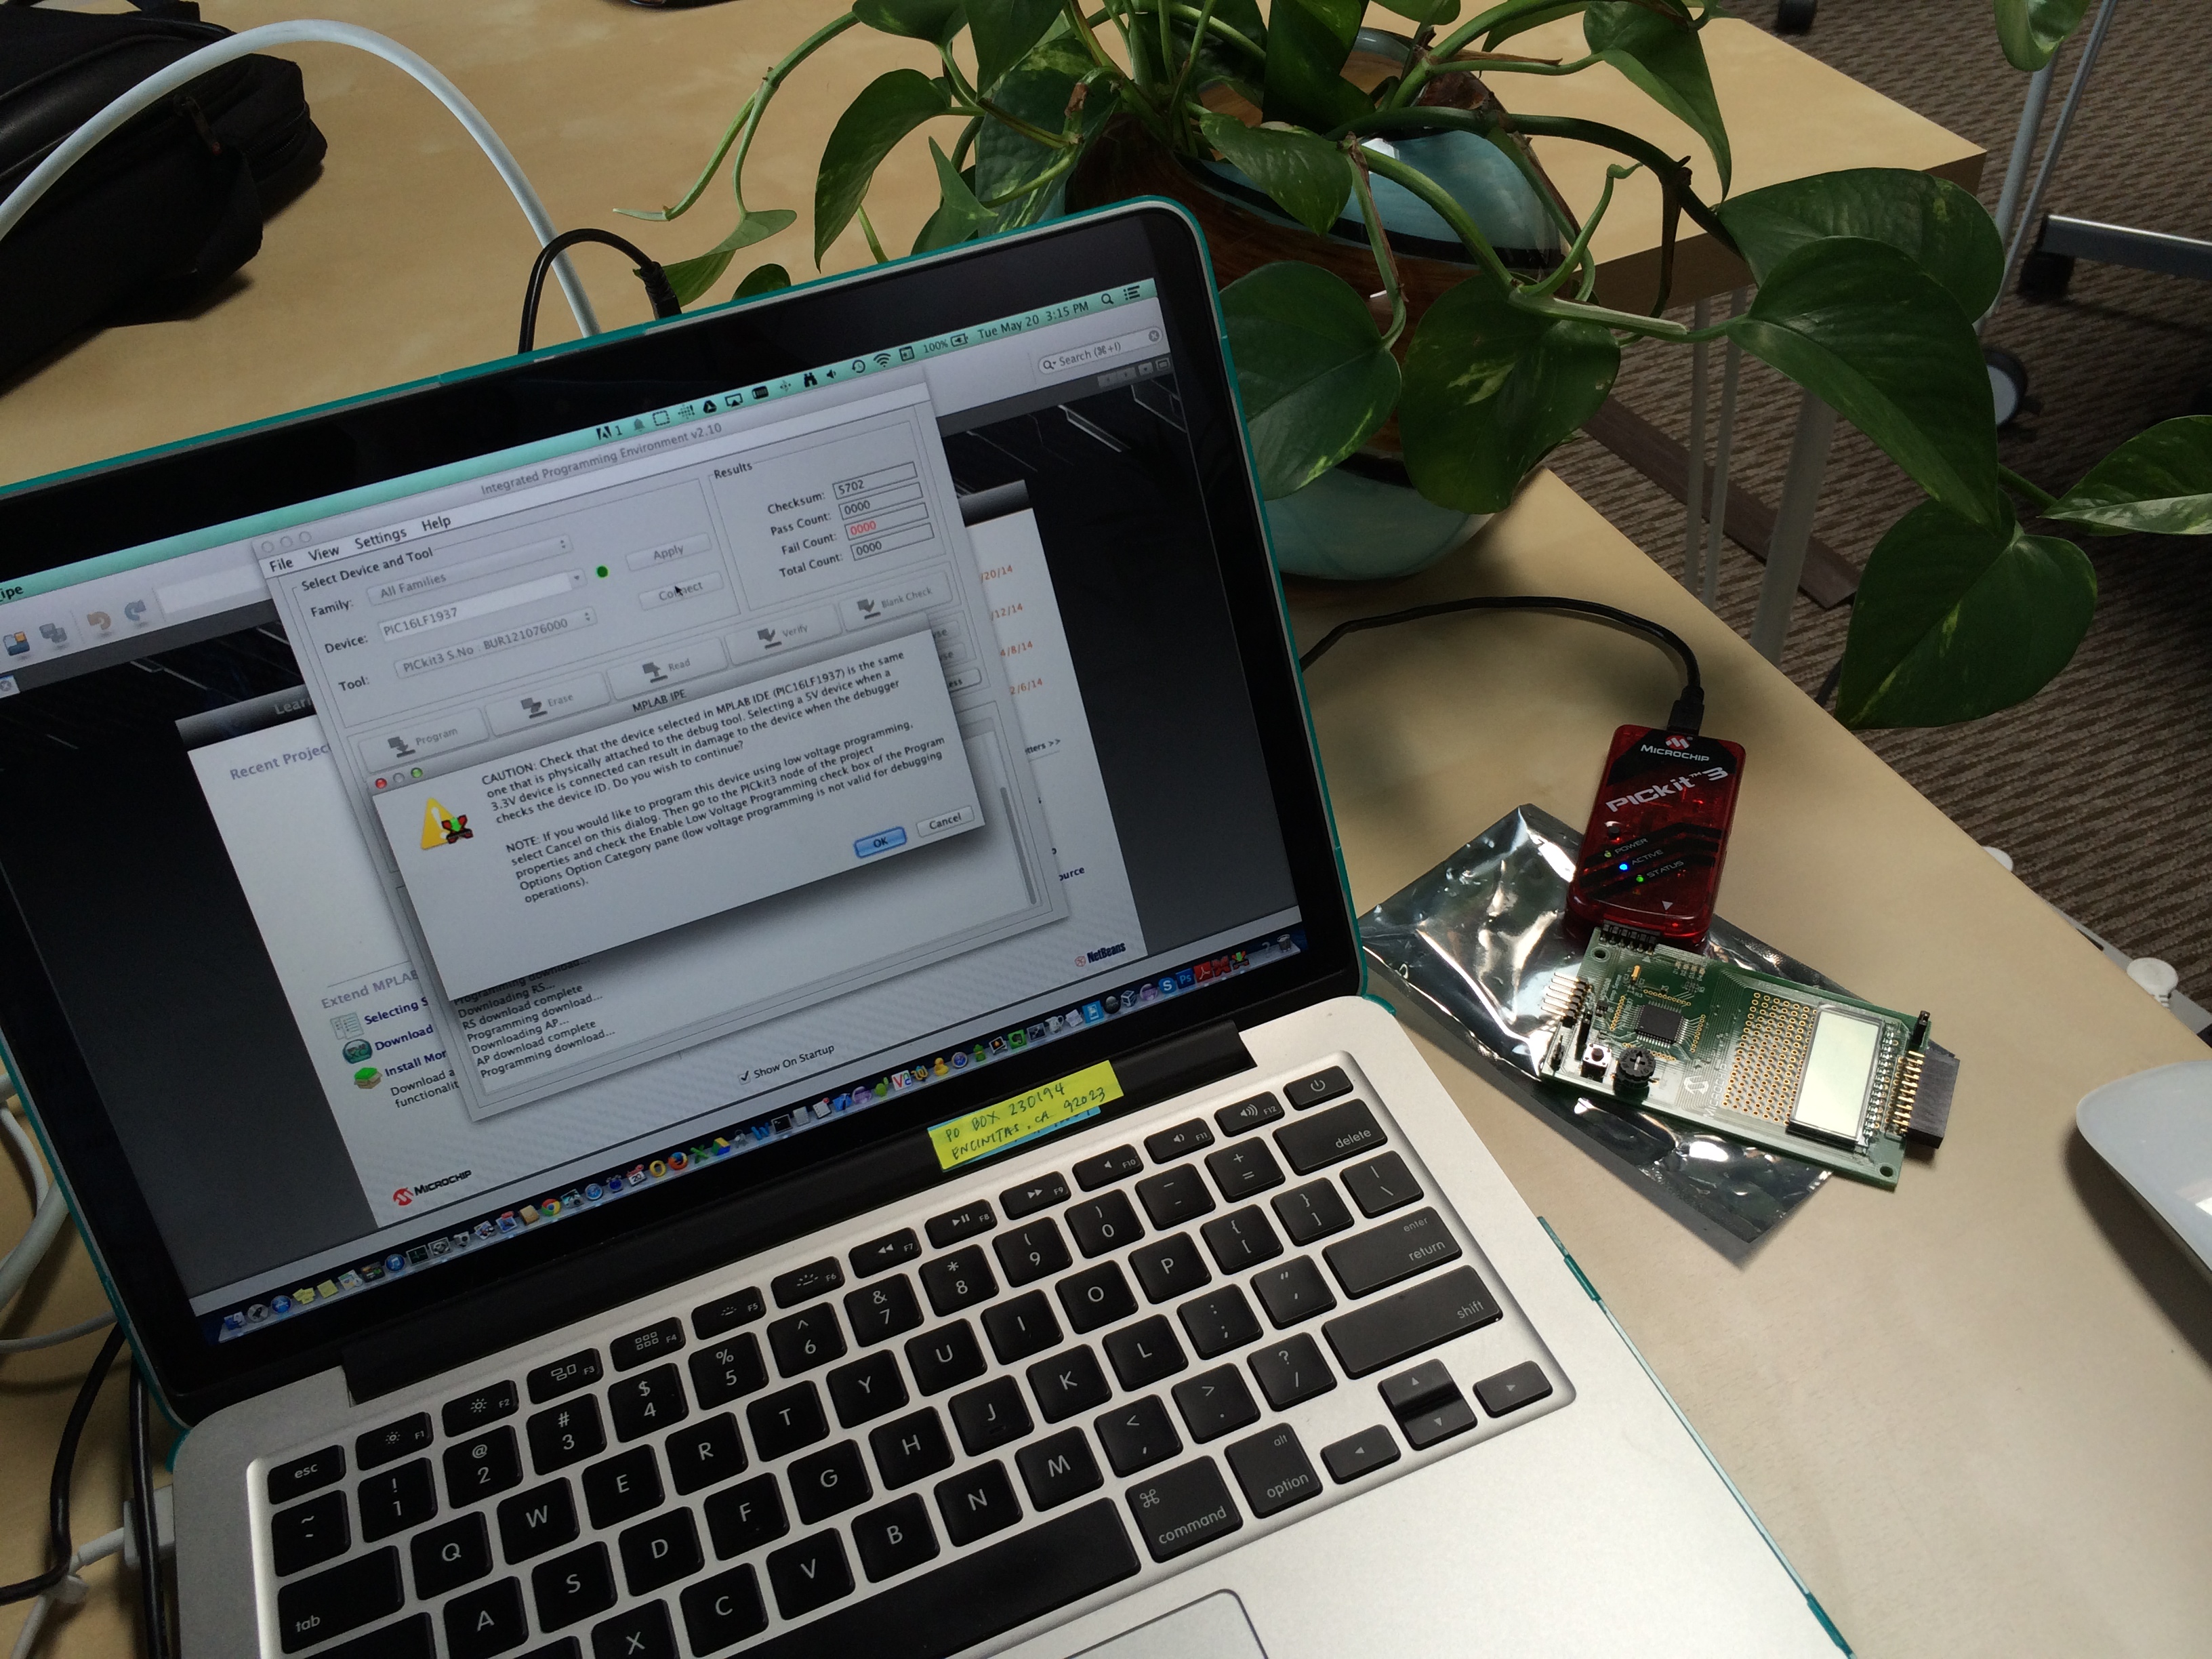
Toyota did not intend for Prius owners to perform maintenance on their own vehicle. Without a tool that can send commands to the car’s ECU/computer, standard maintenance such as changing brakes, flushing the radiator, or changing the transmission fluid cannot be done properly. As I perform my own maintenance on my car, I became interested in OBDII (On Board Diagnostics) tools and researched the difference between dealer and consumer OBDII tools. Consumer OBDII tools such as the Scanguage2 and ELM327 can only pull diagnostic codes and read data from the ECU while Dealer tools can issue commands to the ECU and even reprogram the ECU. Definately dangerous if you have no idea what you’re doing 🙂
In the video, I’m toggling my on/off the power indicator light (see top left) using Toyota Techstream TIS (dealer/mechanic software), Drew Technologies Mongoose OBDII cable, Windows XP (32-bit) virtualized on my Mac.
Gallery of Prius in Maintenance Mode and various OBDII tools